what are you looking for?

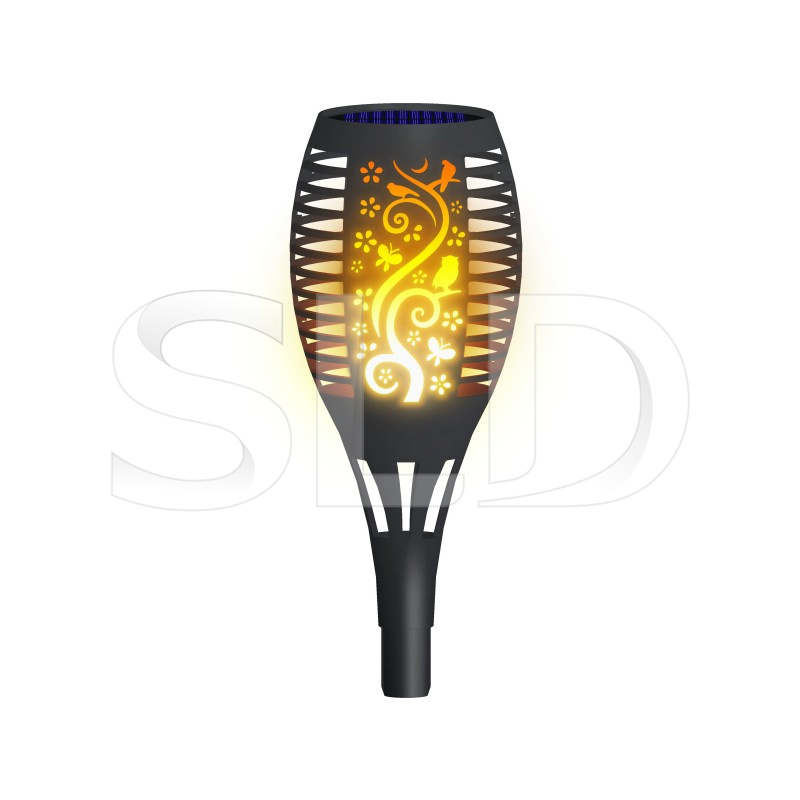
Solar garden lights are an excellent way to transform your outdoor space into an enchanting oasis. Not only do they provide ambient lighting but also reduce energy consumption and promote sustainability. Installing solar garden light is a straightforward process that requires minimal tools and expertise.
Begin by identifying the ideal locations for your solar garden lights. Look for areas that receive direct sunlight for at least six to eight hours a day. This will ensure that the lights receive enough solar energy to power them throughout the night. Pay attention to shading from trees or buildings that may obstruct sunlight. Also, consider the aesthetic appeal and functionality of the chosen locations.
Once you have identified the locations, prepare the ground by clearing any debris or vegetation. Use a shovel or garden trowel to create small hole or dig shallow trenches to accommodate the light fixtures. Make sure to space the lights evenly and align them according to your desired lighting design.
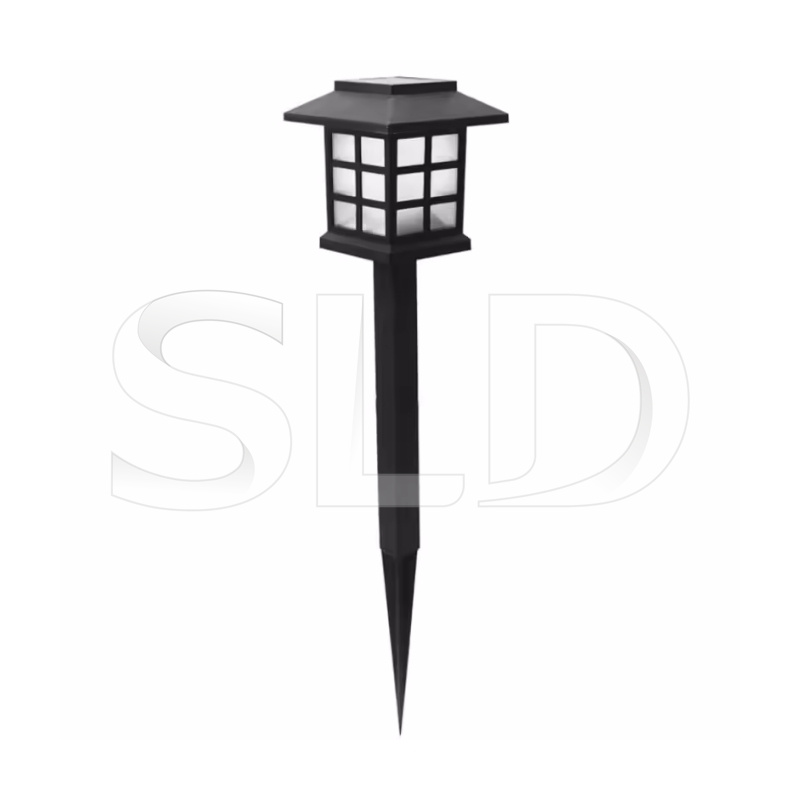
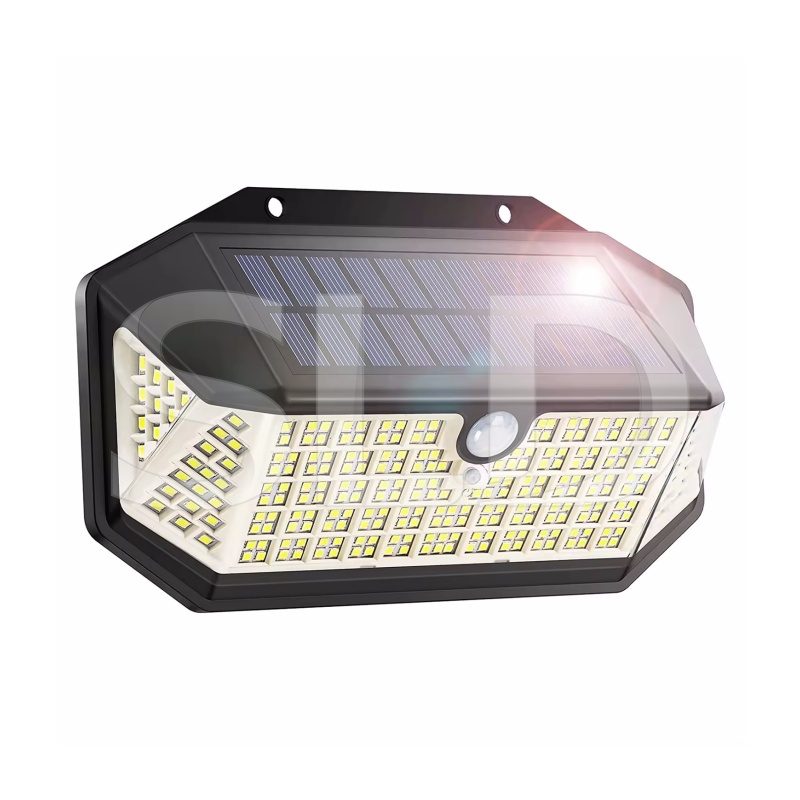
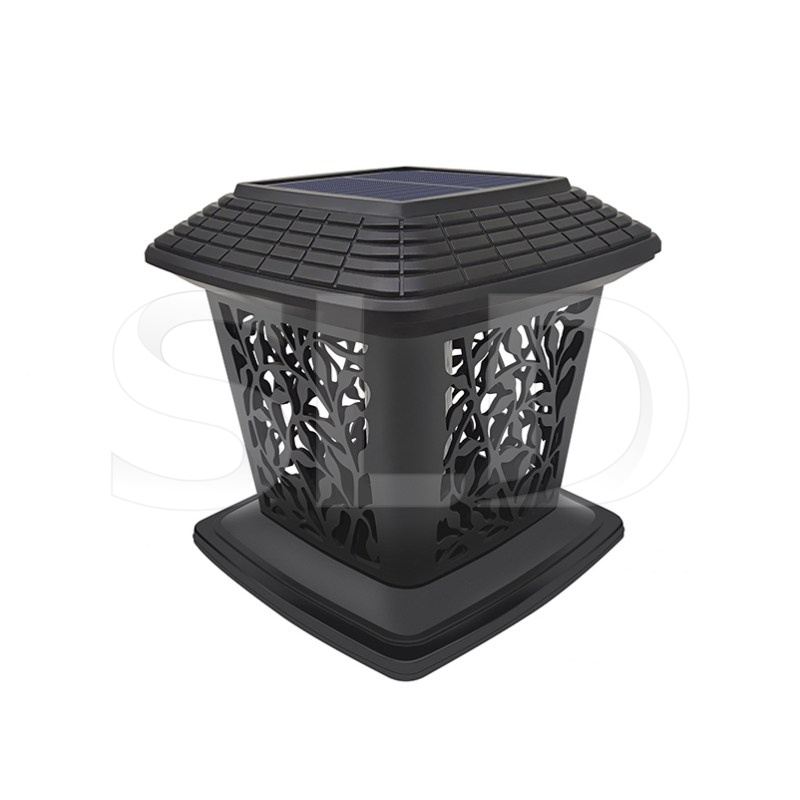
Most solar powered garden lamps come with a stake or spike that can be easily inserted into the ground. Simply push the stake firmly into the prepared holes or trenches, ensuring they are secure and upright. If the lights come with additional parts, such as brackets or clips, follow the manufacturer’s instructions to attach them to walls, fences, or other structures.

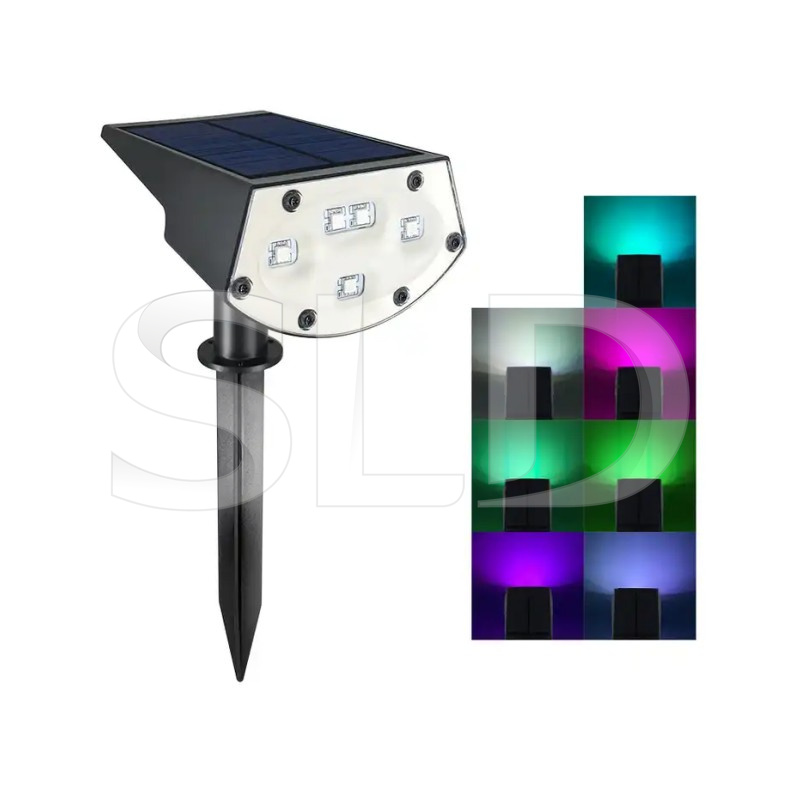
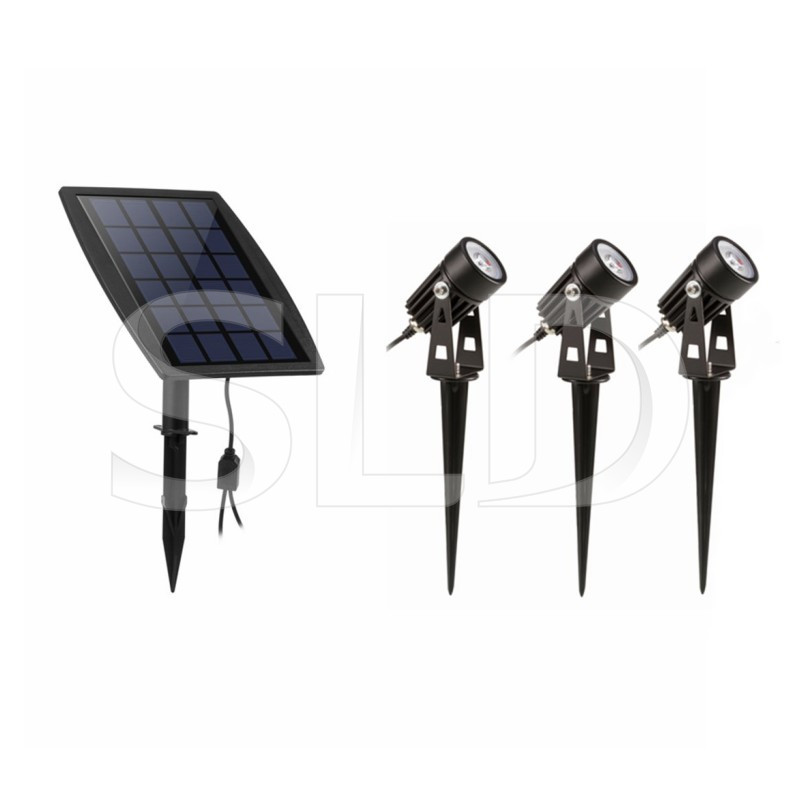
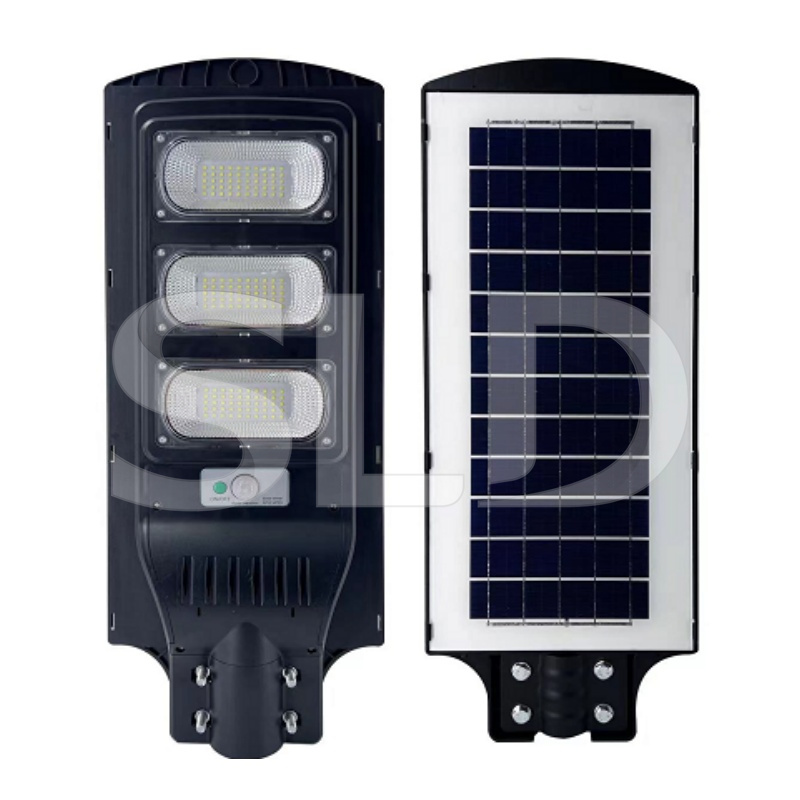
Solar LED garden lights consist of three main components-the solar panel, the battery, and the light fixture. The solar panel collects sunlight and converts it into energy, which is stored in the battery. The light fixture then uses this stored energy to illuminate the surroundings at night. Begin by connecting the solar panel to the light fixture, following the manufacturer’s instructions. Ensure that the connection is secure to enable efficient energy transfer.
Before placing the lights outside, turn them on to ensure they are functioning properly. Some lights with an on/off switch or a removable tab to activate the battery. Allow the lights to charge for at least 24 hours in direct sunlight before installing them permanently. This initial charging period will optimize their performance and battery life.
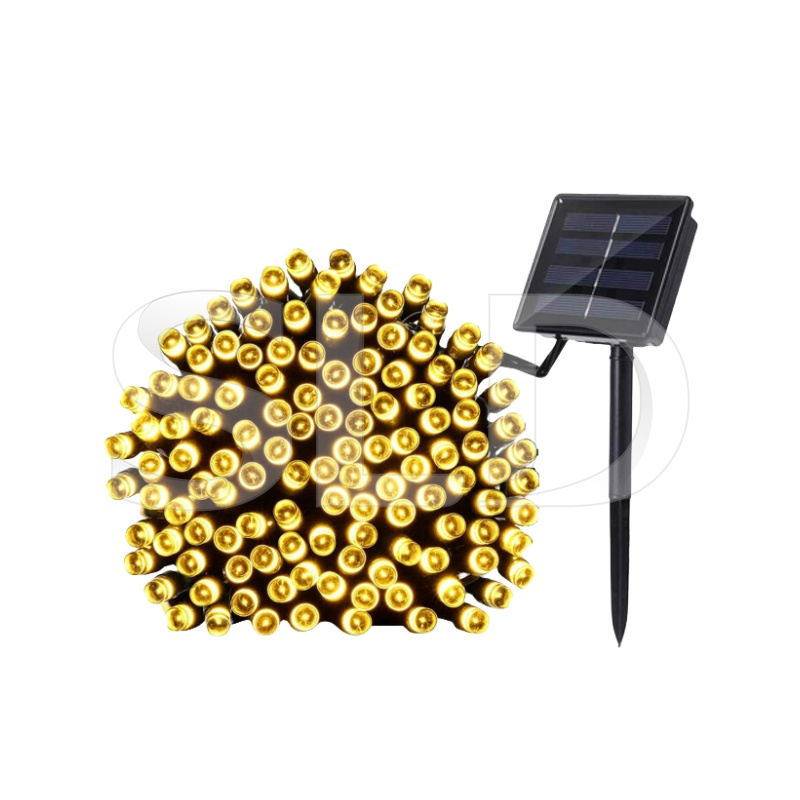
Once the lights have been fully charged, it’s time to enjoy the magical ambiance they bring to your garden. As night falls, the solar garden lights will automatically turn on, illuminating your outdoor space with a warm glow. Remember to clean the solar panels periodically to ensure optimal charging efficiency and consider storing the lights indoor during winter or extreme weather conditions to prolong their lifespan.


Xiamen SLD Technology Co., Ltd
 Chengyi North Street, Software Park 3, Jimei District, Xiamen Fujian, China
 +86 188 5929 8629
 sales@solarlightsdo.com
 Blog | Sitemap | XML | Privacy Policy