what are you looking for?

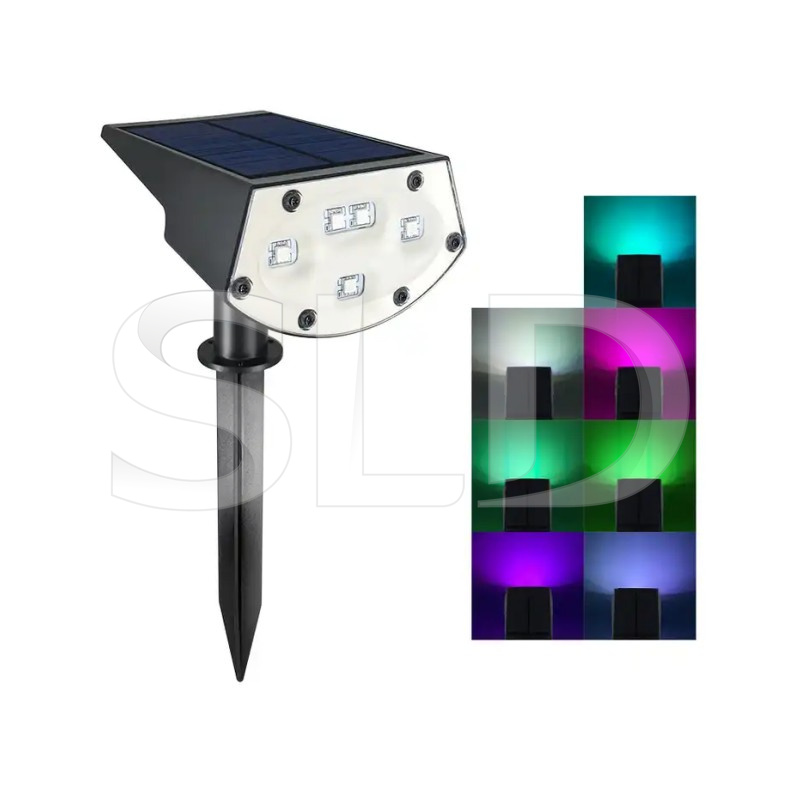
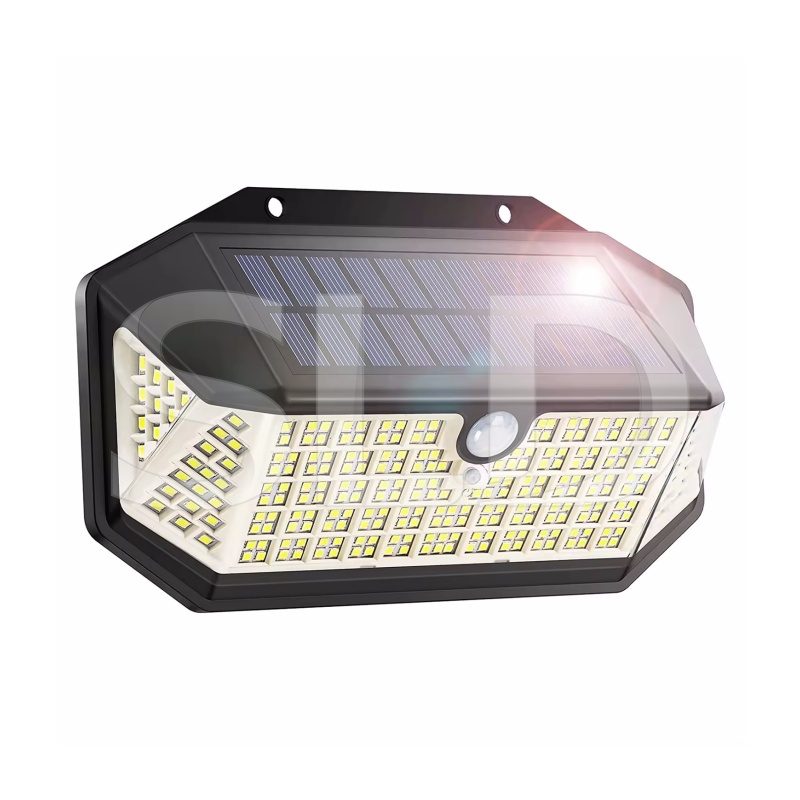
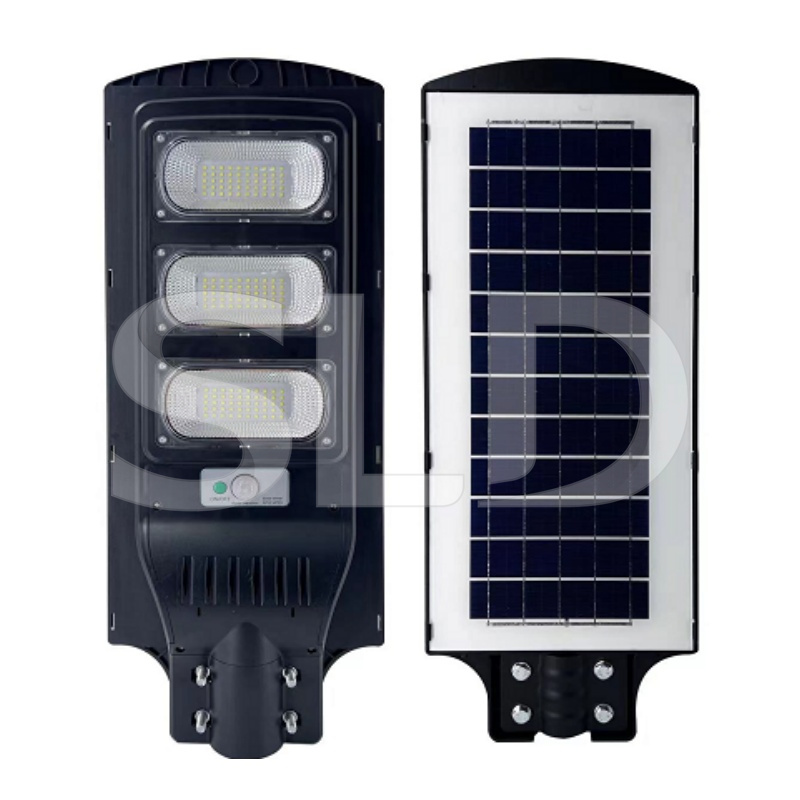
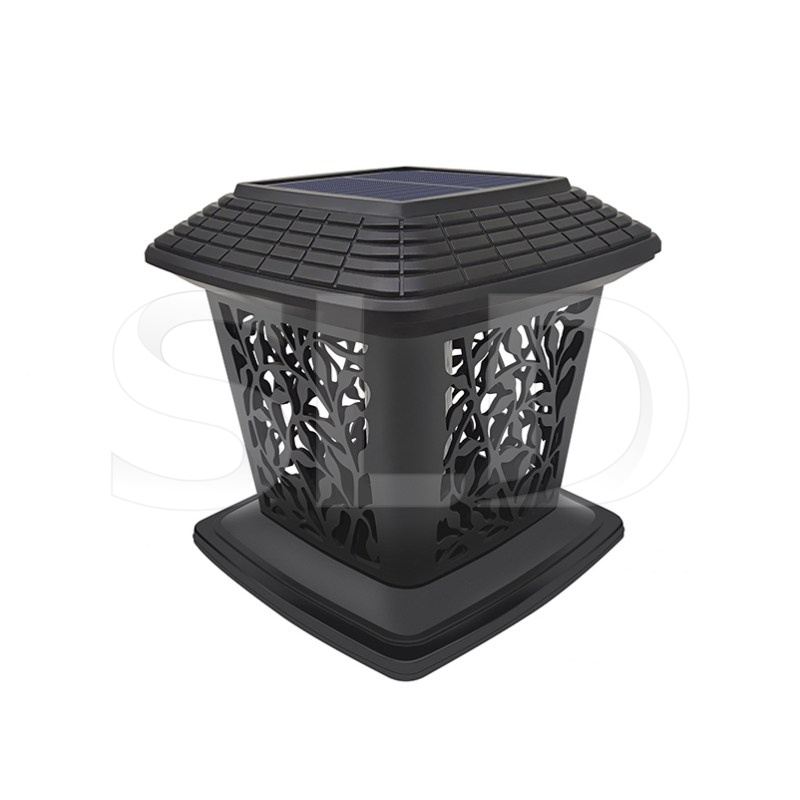
When it comes to fixture assembly, solar lights require careful attention to ensure optimal performance and longevity. Solar street security lamps and solar powered flag pole lights share similar assembly principles, with each designed to harness the power of the sun for efficient illumination.
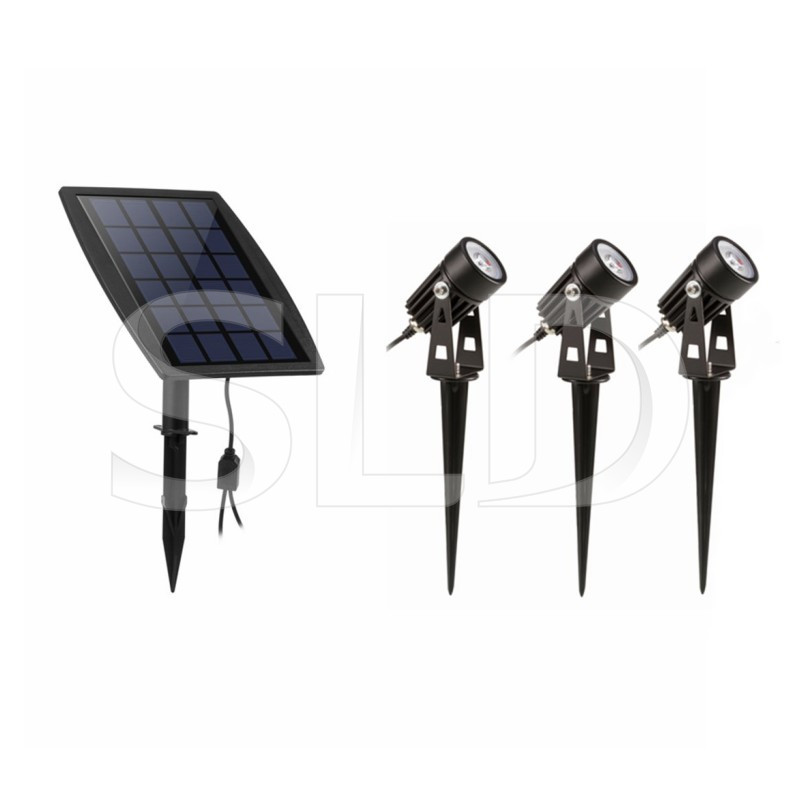
The assembly process begins with securing the solar panel. Attach it to its designated frame or bracket, making sure the wires are properly connected to the panel’s terminals. Position the panel to face the sun directly for optimal energy collection, which may require adjusting its angle and direction based on your location. Once the panel is positioned, tighten all screws and bolts to ensure stability.
The following step is to attach the light fixture to its mounting location, whether it be a post, wall, or another sturdy structure. Use the provided hardware to secure the fixture, ensuring it is level and properly aligned to direct light where needed. For fixtures mounted on poles, make sure the pole is securely anchored or attached to a solid surface. The fixture should be positioned to effectively illuminate the intended area.

Before finishing the assembly, perform a system test to confirm that all components are functioning together as expected. Allow the battery to charge in direct sunlight for a few hours, then turn on the outdoor solar road light to see if it illuminates. If it does not, check all connections, ensure the solar panel is correctly aligned with the sun, and make any necessary adjustments. Retest until the system is operating properly.
Once your solar light fixture is assembled and working, regular maintenance is crucial to keep it performing optimally. Clean the solar panel frequently to enhance sunlight absorption and check the battery and connections for any signs of corrosion or damage. If the light’s performance diminishes, troubleshoot by examining the battery charge, the solar panel’s alignment, and the condition of the light fixture’s bulb or LEDs.


Xiamen SLD Technology Co., Ltd
 Chengyi North Street, Software Park 3, Jimei District, Xiamen Fujian, China
 +86 188 5929 8629
 sales@solarlightsdo.com
 Blog | Sitemap | XML | Privacy Policy